

Sui CLI Cheat Sheet
When building smart contracts, you’ll also need to build a client that interacts with the smart contract. Aside from querying on-chain data, Clients can read and execute smart contracts depending on the primitives defined in the contract.
Sui CLI is your best bet for a client since you can easily make CLI calls from any language you eventually decide to build clients with. In this article, I’ll provide an overview of the popular commands you’ll need while building on Sui.
Getting Started with Sui CLI
First, you’ll need to install Sui CLI on your computer. Depending on the operating system and package manager you’re using, here’s how you can install Sui CLI on your computer:
Execute this command on your terminal to install Sui CLI if you’re running a Unix-based operating system (macOS or Linux) via Homebrew.
brew install suiExecute this command on your terminal to install Sui CLI if you’re running Windows via Chocolatey.
choco install suiAnother route you can use is the Cargo (Rust package manager) route. First, you’ll need to have Rust installed (ships with cargo) and then execute this command to install Sui CLI.
cargo install --locked --git https://github.com/MystenLabs/sui.git --branch testnet sui --features tracingYou can always execute the --version flag to verify your installation and check the version of Sui CLI you have installed.
sui --versionOne flag you’ll use frequently is the—- help flag for the description of every command.
sui --helpIt works with almost every command. It should be your mantle whenever you’re stuck.
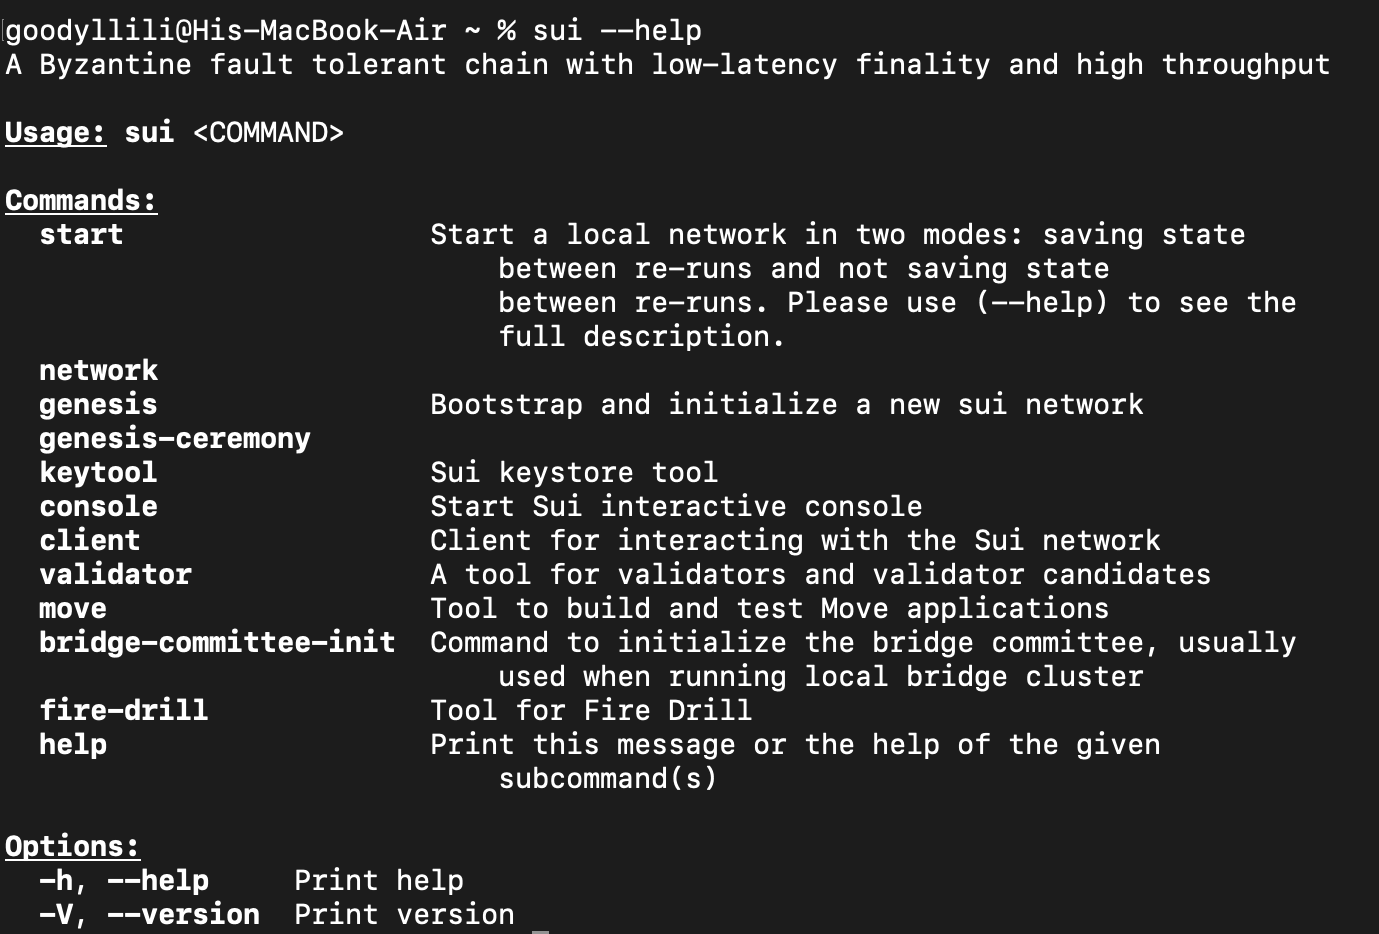
Regardless of the command, using -h or --help for help would always be handy.
Environment Management with Sui CLI
Every chain provides you with three fundamental networks: Mainnet, Testnet, and Devnet. You can also spawn a test chain locally to keep development in stealth mode.
Here’s the command you’ll execute to spawn a local network.
RUST_LOG="off,sui_node=info" sui start --with-faucet --force-regenesisThe command calls the Sui CLI binary to start a faucet service and generate a new genesis block without persisting the local network state.
Now, you can connect to the local network with the new-env command like this:
sui client new-env --alias local --rpc <rpc-url>
# sui client new-env --alias local --rpc http://127.0.0.1:9000You can switch and activate any environment with this general command.
sui client switch --env <ENV_NAME>Now, you can use this command to set the active environment to the new local environment you’ve created.
sui client switch --env localThe command switches the currently active environment to the local network you’re running.
Address and Key Management with Sui CLI
You’ll be switching keys as you deploy smart contracts over the Sui CLI, so here’s how to do that.
You can view the currently active address with the active-address command
sui client active-addressYou can list all the addresses in your client with the addresses command.
sui client addressesYou can switch addresses as you please with the --address flag before specifying the address.
Key Management with Sui CLI
When building your apps, for security or other reasons, you might want to run CLI commands to work with keys. The keytool command is
You can list all the keys in a keystore with the list command like this:
sui keytool listYou can generate keys with the generate command followed with a specification of the scheme.
sui keytool generate [OPTIONS] <KEY_SCHEME> [DERIVATION_PATH] [WORD_LENGTH]You’re probably familiar with the ed25519 since that’s what most wallets use. Specify it like this.
sui keytool generate ed25519You should get the output with the Sui address, mnemonic and other details.

The keypair should be private, if you’re generating for users then only users should see it, you should neither see it nor log it for any reasons.
You can also import Keypair from existing mnemonic with the import command.
sui keytool import "<MNEMONIC_PHRASE>" ed25519When you’ve imported it, you can switch to the keypair and start sending transactions with it.
Gas and Faucet with Sui CLI
When you’re developing your apps, ideally, you’ll start out on devnet, then testnet before deploying to mainnet.
Devnet and Testnet gas are free to acquire. But mainnet? nah.
You can easily request gas on devnet with the client faucet command:
sui client faucetFor testnet, you’ll need to execute this cURL command to request gas:
curl --location --request POST 'https://faucet.devnet.sui.io/v1/gas' \
--header 'Content-Type: application/json' \
--data-raw '{
"FixedAmountRequest": {
"recipient": "<YOUR SUI ADDRESS>"
}
}'You can also visit the official Sui faucet website to claim some Devnet and Testnet tokens.
Use the client gas command to check the client’s available gas tokens on the current environment.
sui client gasFor mainnet transactions, you’ll need to acquire Sui from exchanges and fund your wallet.
Publishing Packages
You can publish packages on to the Sui network with the client publish command.
sui client publish [OPTIONS] [package_path]Here’s an example command for publishing a package with 5000000 MIST gas budget.
sui client publish --gas-budget 5000000The gas budget isn’t fixed, you most likely want to check onchain for a suitable gas amount and pay it forward.
Coin Management with Sui CLI
When you’re working with SUI coins, You’ll probably need to merge and split them often—especially when youjuggling gas or sending different amounts to various contracts or users.
If you’ve have two coins lying around, and you want to consolidate them, use the merge-coin command like this:
sui client merge-coin --primary-coin <COIN_ID> --coin-to-merge <COIN_ID>The primary-coin is the one you’ll keep, and the coin-to-merge is the one that gets absorbed.
Need to split a coin instead? Maybe you want to pay out to multiple recipients or just need different denominations. You can slice a coin up using split-coin like this:
sui client split-coin --coin-id <COIN_ID> --amounts <AMOUNTS>If you need to send out coins, you’ll use the client transfer-sui command like this:
sui client transfer-sui --sui-coin-object-id <COIN_ID> --to <ADDRESS>It’s a simple handoff—you give it the coin ID and the recipient’s address, and it moves the funds.
Sui has programmable transactions so you can send to multiple recipients at once with the pay-sui command:
sui client pay-sui --input-coins <COIN_ID> --recipients <ADDRESS> --amounts <AMOUNTS>You’ll pass a coin (or a list of coins), and then specify the recipients and how much each should get. It’s perfect for batch payments or distributing tokens in bulk.
Object Management with Sui CLI
Sui is all about objects. Contracts, tokens, and even your coins—they're all objects.
To get detailed info on any object, just call:
sui client object <OBJECT_ID>This will spit out all the metadata, owner info, and anything else the object is carrying.
If your object has dynamic fields (like a registry or a growing data structure), you can dig into those too:
sui client dynamic-field <DYNAMIC_FIELD_ID>This is very handy feature you might use often during development.
Programmable Transaction Blocks (PTBs)
Sui is one of the few chains with native PTBs. Programmable Transaction Blocks let you bundle multiple operations into a single transaction—kinda like a mini-script that executes on-chain.
Say you need to call a Move function directly from your CLI. You’ll do that like this:
sui client ptb --move-call <PACKAGE>::<MODULE>::<FUNCTION> "<TYPE>" <ARGS>Replace the package address, module name, and function you’re targeting. Then drop in the type and arguments as needed.
And if you want to transfer multiple objects to another wallet in one go, you can use PTBs as well:
sui client ptb --transfer-objects "[<OBJECT_ID>]" <ADDRESS>Wrap the object IDs in brackets if you’re sending more than one, and finish it off with the recipient’s address.
Conclusion
Hopefully, this article suffices for introducting you to the Sui CLI tool. It’s more than a client, there’s a lot you can do with this tool.
If you ever need a quick refresher or you’re trying out a new command, make the Sui CLI Cheat Sheet your best friend. And when in doubt, the Sui Client CLI Docs have the full breakdown.